

a Blender modeling project
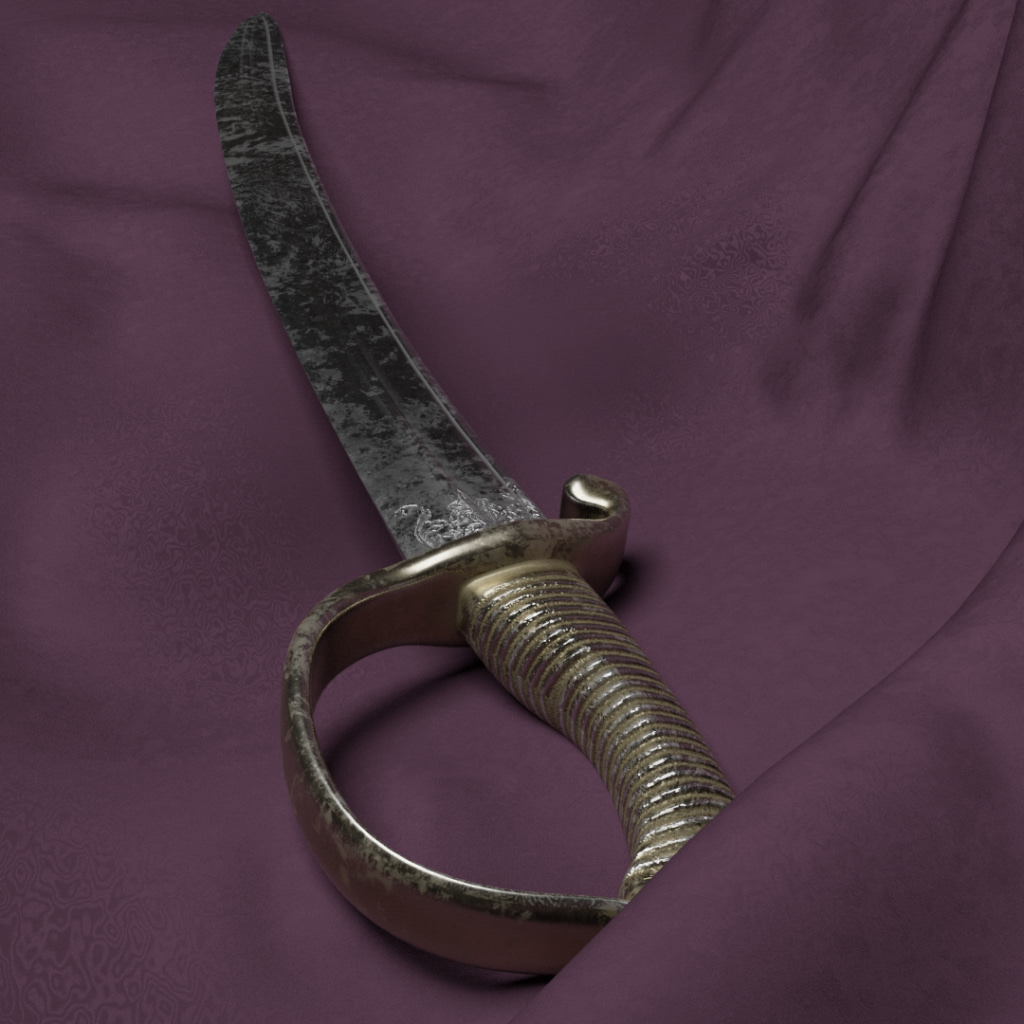
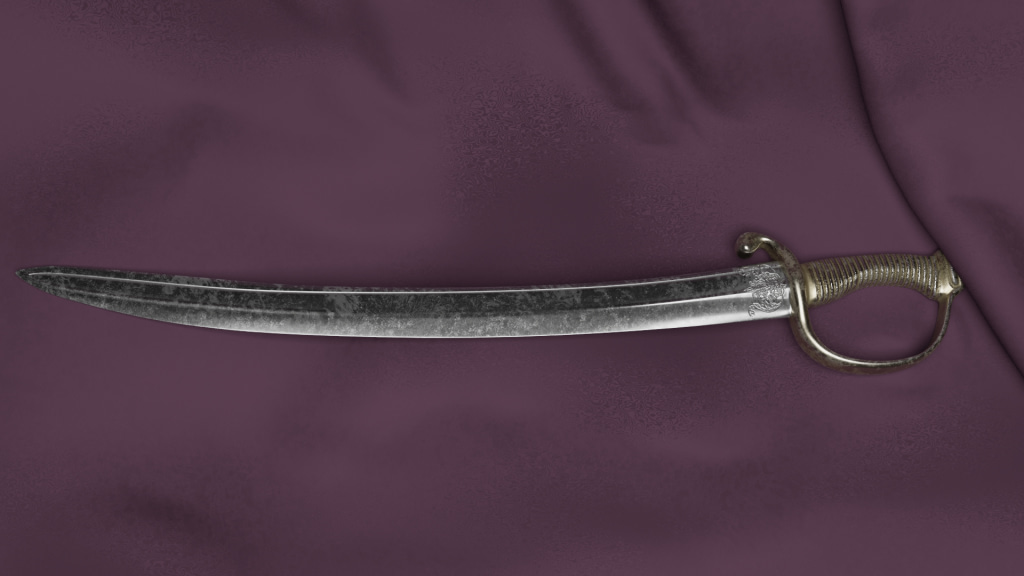
3D model of a cutlass
3D model of a cutlass made in blender with a little help of Affinity Designer and Quixel Mixer
Creating a 3D Model of a Cutlass

Working on a pirate sword in blender
My only defense for stumbling into this theme is watching Pirates of The Caribbean way too many times. Bloodshed and robbery upon the waves must have seeped into my defenseless brain. That was why I got entangled in thoughts of treasures, pirates, and conversational birds.Every good scene with pirates has swords in them. The sword of choice for a pirate was the Cutlass.What is the use of a 3D model of this? Why would one embark on this journey of creating this thing? Why suffer headaches, frustration, and tears over something so intangible as a 3D Model? For anyone who shares my passion, the journey itself is the goal. The sense of accomplishment and the fact that I might sell some of the trinkets I got along the way. Maybe I can interest you in a 3D Cutlass with the finest vertices that money can buy?

working with materials for a 3d model
The 3D model is more than just the model itself. It also needs a layer of paint. A convincing material is a necessity for it to look realistic. When I say material, it is several files. They tell us the characteristics of the surface. I will not go further into this right now. Either you are like me and know the ins and outs of normal maps and shaders. Or you are just here for the art could not care less of what goes on behind the curtains.
I like to use the software Blender when I create my models. For the materials, I like Quixel Mixer. Blender is free software. Quixel Mixer could be free software, depending on how you intend to render your work. I have a subscription, so for me, it does not matter. The free version makes you restricted to rendering your models with material from Quixel Mixer in Unreal. Licensing like this is tricky legally and might be subject to change. Make sure to look this up before using Quixel Mixer.


working on materials
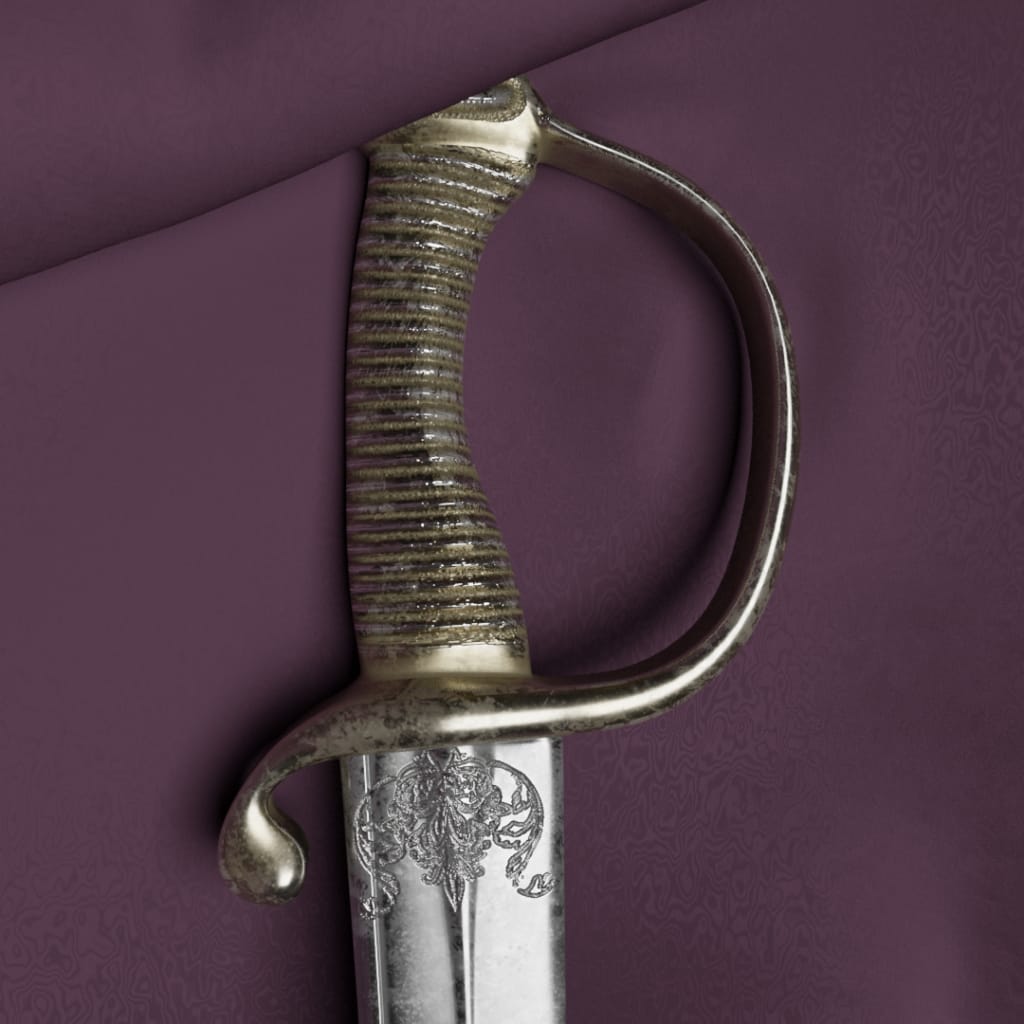
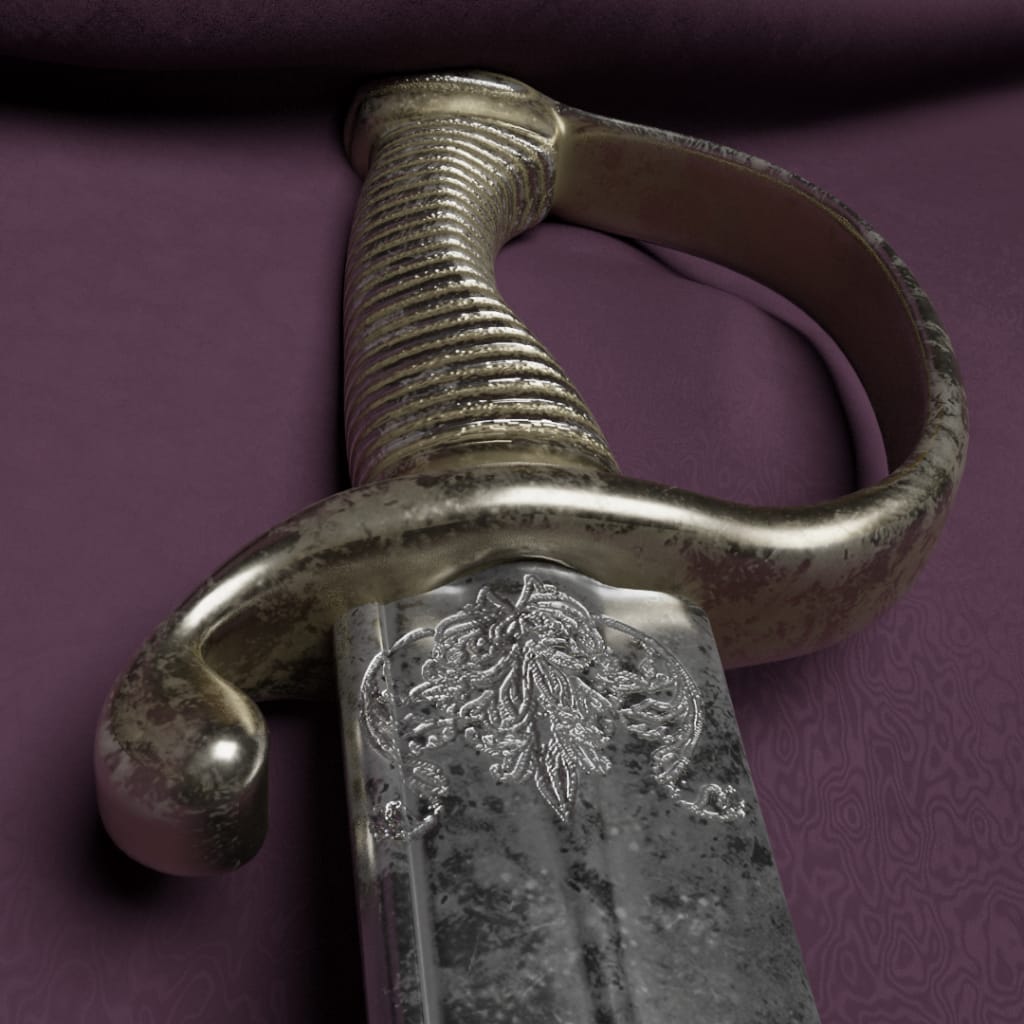
I have been trying to work on the details of my model using normal maps to keep the number of polygons down while keeping the level of detail high. My main problem has been computer power. Trying to work with a geometry that has millions of polygons turns my computer to a crisp. However, using a displacement map on a high poly base mesh and then applying that works well enough. I then bake that high poly to a low poly model. The intention is to make it easier to use in a scene. I managed to give the handle some extra details. Pay special attention to the engravings on the blade. I will go through my process in more detail later on.
Check out the Model on SketchFab
I really like Sketchfab
Sketchfab is the best way that I know of to showcase 3D-Models. It makes it easy to check the topology and the materials. The client does not have to trust that the model is as I claim. For me, it saves a lot of time figuring out what areas of a model might interest a potential client. Why not check out my Sketchfab Portfolio and see for yourself.
Work In Progress for a 3D model of a cutlass
If I may, I would like to explain my process. It is heavily influenced by making do with what little you got. For instance, for the finer details, you often sculpt and create a highly detailed mesh, and then to UV-Map that model (or make the program know how to glue our paintwork on top of it) Then you retopo or make a simpler model that is possible to UV-Map. My computer at the time could not sculpt in high-poly models. So what to do? I had experience in creating sub-div models. A process where you a more simple base mesh. Then you adjust the level of polygons using modifiers. So in this first timelapse, you see me creating a simple base mesh with the general form of the Cutlass.
The overall process
After the basic form, it is time for details. I have used my technique before on simpler objects. So this is a good progression of the process. We start by creating a UV-Map. The key is unwrapping in a way that makes sense for the next step. Now we need to figure out what details we want to add. Maybe grooves on the handle or some engraving. I then add a material with a distinct color to those areas.
Working inside Affinity designer.
Then we bake that color into a texture and import that into Affinity Designer. In Affinity Designer, we go to town on our rough displacement mapping. Creating the groves and pattern that will make this model look more detailed. Adding the displacement map for our model and then increasing the geometry when we are happy with the result. The next step is to bake these details into a medium polygon model and save that normal map for later. I also create another color map to use with Quixel-Mixer later on. We use this for separating areas with the colors corresponding to different materials.
Working with Quixel mixer.
Quixel Mixer is a powerful tool. It is easy to add materials to a model and export PBR textures. The software still needs some tweaks to be perfect. It still needs to be able to import multi-object meshes. Another thing that is missing is things like illumination and opacity.It is my understanding that these things are in the pipeline.


This website is updated sporadically and if you like to know what I am doing right now you can always check out my Instagram